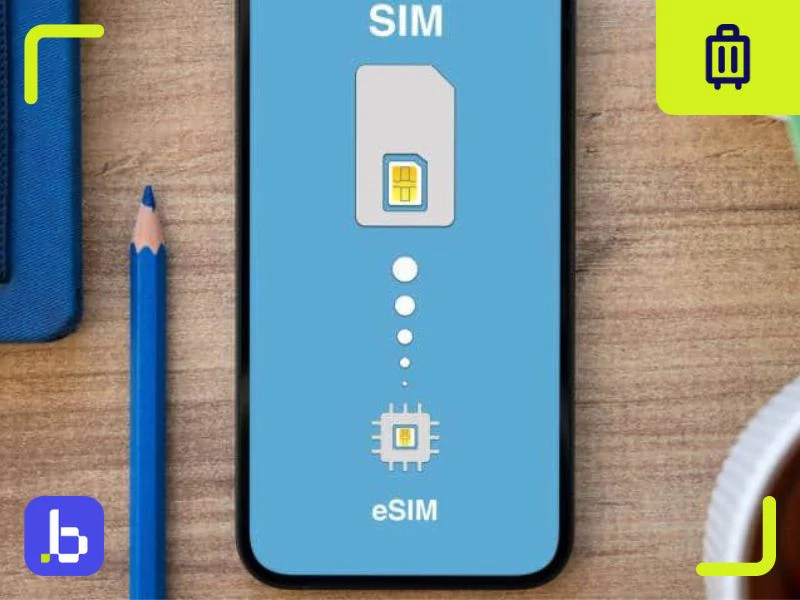
Installing an eSIM is easier than you think – a few minutes scanning a QR code and you are done. This guide explains step by step how to install and activate an eSIM on both iPhone and Android, with tips to avoid the most common errors.
Before you start
Important tip: install (scan the QR) while still at home, but only turn the data plan on once you arrive. That way you avoid fiddling with weak Wi-Fi at a foreign airport.
Install an eSIM on iPhone
- Open Settings → Cellular/Mobile Data.
- Tap Add eSIM → Use QR Code.
- Point the camera at the QR code in the email. The phone downloads the eSIM profile.
- Label the plan, for example “Travel”, to tell it apart from your home number.
- On arrival: go back to Settings → Cellular, set the “Travel” profile as your Mobile Data line and turn on Data Roaming.
Install an eSIM on Android (Samsung, Pixel, Oppo…)
Menu names vary slightly by brand, but the general steps are:
- Open Settings → Connections → SIM manager (or Network & Internet → SIMs).
- Choose Add eSIM / Add mobile plan.
- Choose Scan carrier QR code and scan the code in the email.
- Confirm the download and name the profile.
- On arrival: set the travel eSIM as your data SIM and turn on Data Roaming.
Install manually (when the QR will not scan)
If the camera cannot scan, choose Enter details manually and fill in the two values from the email: the SM-DP+ address and the Activation Code.
Common errors & fixes
Ready to buy an eSIM for your trip?
Choose your destination, receive the QR code by email right after payment and follow the steps above – you will have signal before you even leave the airport.
👉 Browse travel eSIM plans at Go365